
TM 5-3820-233-35/1
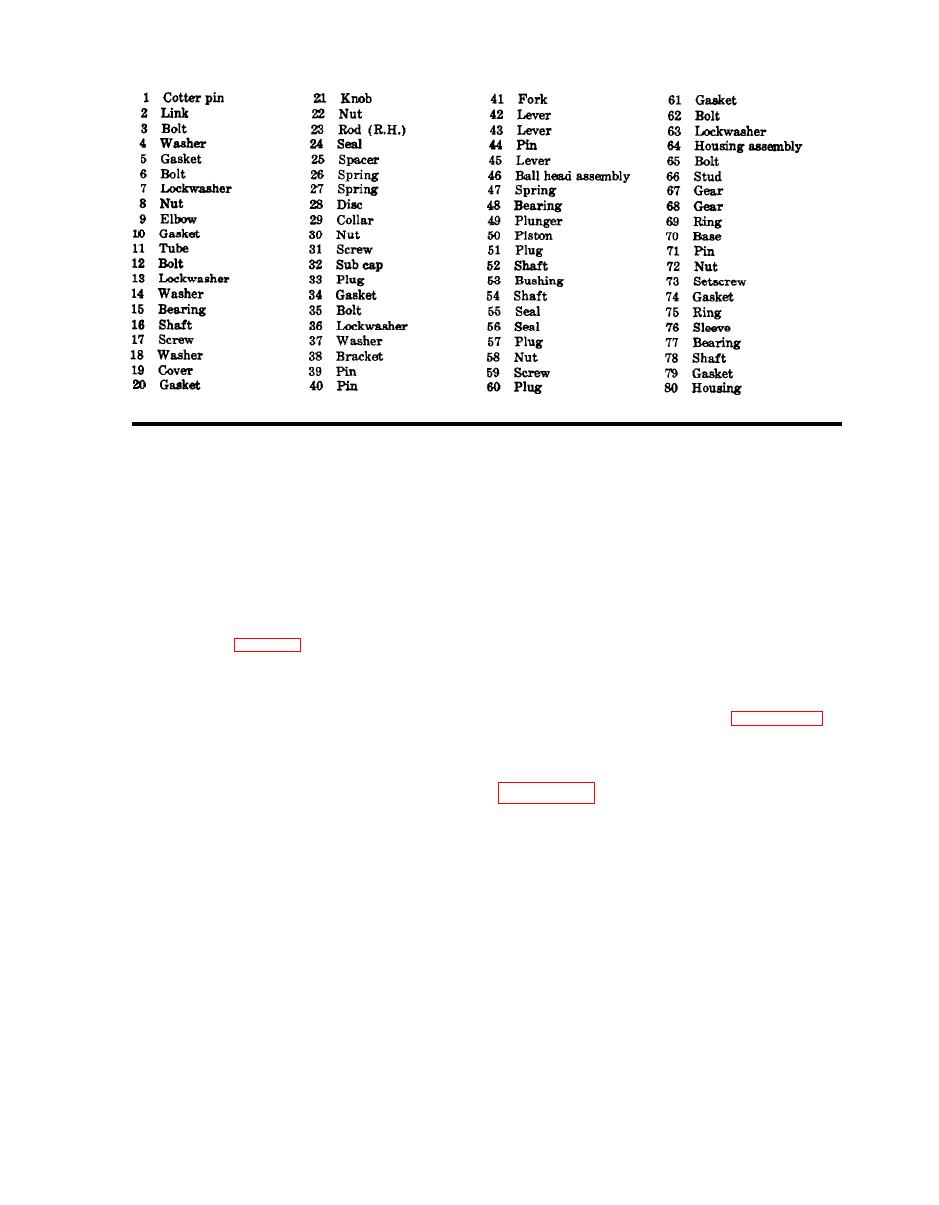
Figure 12 --Continued.
(6) Inspect drive coupling fork for wear
b. Removal
or other damage. Replace defective coupling.
(1) Drain the cooling system (Opera-
tor's Manual).
(7) Test valve retaining spring. Apply
( 2 ) R e m o v e t h e o i l l i n e s (Operator's
a load of 7.1 pounds to 7.5 pounds to the
Manual).
spring. The spring should compress to a
(3) Remove the fuel filter lines (Oper-
length of 1.18 inch. If the spring fails to
ator's Manual).
meet this specification, replace the valve re-
(4) Remove the fuel pump (Operator's
taining spring.
Manual).
e. Reassembly. Reassemble the fuel pump
(5) Remove the water pump (operator's
in the reverse of the numerical sequence as
Manual).
illustrated on figure 13.
(6) Remove the hydraulic governor (Op-
erator's Manual).
Note. Install fuel pump drive gear over the end
(7) Remove the air inlet housing blow-
of the drive shaft which is not squared to prevent
er, and blower drive assembly in the numer-
scoring the square end of the shaft.
ical sequence as illustrated on figure 14-1.
Note. Apply only a thin coat of approved seal-
c. Disassembly
ant on the face of the pump cover outside of the gear
(1) Disassemble the air inlet housing in
pocket area. Too much sealant could increase the
clearances and affect pump efficiency. Do not apply
the numerical sequence as illustrated on
sealant into the gear pocket, or damage to the gears
and shafts will result,
(2) Disassemble the blower and blower
drive assembly in the numerical sequence as
f. Installation. Refer to the Operator's
illustrated on figures 14-3 and 14-4.
Manual.
d. Cleaning, Inspection, and Repair
(1) Clean all of the blower parts with
36. Blower and Blower Drive Assembly
an approved cleaning solvent and dry
thoroughly.
a. General. The blower supplies the fresh
(2) Inspect bearings for corrosion or
air needed for combustion and removing
pitting. Replace defective bearings.
exhaust gases from the cylinders. The blower
(3) Inspect the blower rotor lobes for
spiral rotors provide continuous and uniform
burrs and scoring. If rotors are only slightly
air flow.
scored or burred, clean them with emery
3-15

