
3208 INDUSTRIAL AND MARINE ENGINES
DISASSEMBLY AND ASSEMBLY
PISTONS
INSTALL PISTONS
12-1214
Tools Needed
A
1Y7426
1
1. Turn the crankshaft until the bearing journal for
the pistons to be installed is at bottom center.
2. Put clean engine oil on the crankshaft bearing
journal and inside of the cylinder walls. Put
clean engine oil on the piston rings and
connecting rod bearings.
3. Make sure the ring gaps are approximately 120
apart. Install tool (A) on the piston.
4. Put the piston in position in the same cylinder
bore from which it was removed. The hole
(crater) in the top of the piston must be toward
(nearest) the center of the engine.
5. Push the piston into place while putting the
connecting rod into position on the crankshaft.
6. Put clean engine oil on the threads of the bolts
and contact surfaces of the nuts for the
connecting rod caps.
CAUTION: When installing connecting rod caps, make
sure that the numbers on the side of the cap is next to
and respective with the number on the side of the
connecting rod.
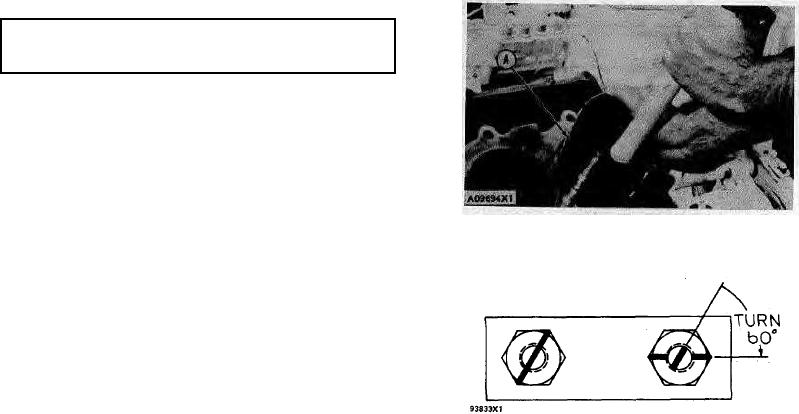
7. Put the cap in position on the connecting rod
and install the nuts. Tighten the nuts to a torque
of 30 3 lb.ft. (4.1 0.4 mkg). Put a mark on
each nut and the end of each bolt. Tighten the
nuts 60 5 more.
8. Follow the same above procedure for
installation of the remainder of the pistons.
68