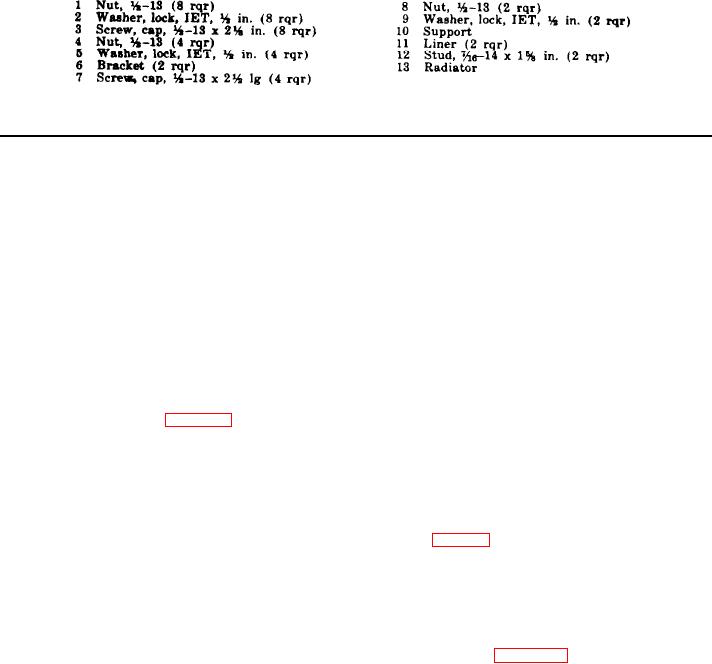
Figure 13 --Continued.
Section
III.
WATER
PUMP
ASSEMBLY
(2) Inspect the impeller for cracked,
45. General
c h i p p e d , or broken blades. Replace a
T h e water pump is a centrifugal, impeller-
d a m a g e d or worn impeller.
type that circulates the coolant through the oil
( 3 ) I n s p e c t the shaft assembly for nicks,
cooler, cylinder block, cylinder head, water
burrs, rough spots, and wear. Re-
m a n i f o l d , and radiator.
place a damaged or worn shaft assem-
bly.
46. Water Pump Assembly Removal
( 4 ) Inspect the support for cracks and
and Disassembly
s i g n s of extensive wear. Replace an
a. R e m o v a l . R e m o v e t h e w a t e r p u m p ( T M
unserviceable support.
5-3820-205-20/l).
( 5 ) R e p l a c e the water pump seal, slinger,
and gaskets upon reassembly.
b . D i s a s s e m b l y . Refer to figure 14, and dis-
a s s e m b l e the water pump.
4 8 . Water Pump Assembly Reassembly
and Installation
4 7 . Water Pump Assembly Cleaning,
a . Reassembly.
Inspection, and Repair
( 1 ) Assemble items (22, 21, 20, and 19,
a. Cleaning.
f i g . 14) on the drive shaft (18) and
(1) Clean all parts with an approved
i n s e r t the shaft into the support (8).
c l e a n i n g solvent and dry thoroughly.
S e c u r e with retaining ring (17).
(2) Remove all rust, corrosion, and rough
( 2 ) Install items (16, 15, and 14) in the
spots on mounting surfaces.
i m p e l l e r (13) and install the impeller
o n the shaft (18).
b. Inspection and Repair.
(3) Refer to figure 14, and reassemble the
(1) Inspect the water pump body, cover,
remaining items in the reverse order.
and pipe elbow for cracks, breaks, and
other damage.
Replace defective
b. Installation. Install the water pump (TM
parts.
5-3820-205-20/l).
AGO 8498A

