3208 INDUSTRIAL AND MARINE ENGINES
DISASSEMBLY AND ASSEMBLY
CONNECTING ROD BEARINGS
REMOVE AND INSTALL CONNECTING ROD
BEARINGS
10-1219
Tools Needed
A
5B1161
Wire
*
start by:
a) remove oil pan
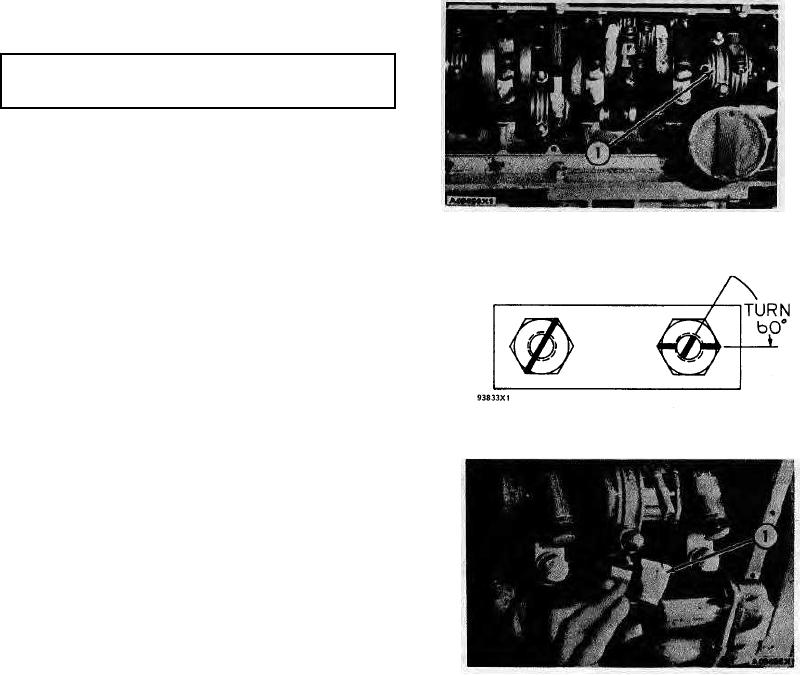
1. Turn the crankshaft until two pistons are at
bottom center. Remove connecting rod caps (1)
from the two-connecting rods. Remove the
lower half of the bearings from the caps.
2. Push the connecting rods away from the
crankshaft and remove the upper half of the
bearings.
3. Clean the surfaces where the bearings fit.
Install the upper half of the new bearings in the
rods. Put clean SAE 30 oil on the bearings and
crankshaft journals. Put the connecting rods in
position on the crankshaft.
4. Clean the surfaces where the bearings fit.
Install the lower half of the new bearings in the
caps. Put clean SAE 30 oil on the bearings, bolt
threads and contact surfaces of the nuts.
CAUTION: When installing connecting rod caps make
sure that the numbers on the side of the cap is next to
and respective with the number on the side of the
connecting rod.
5. Check the bearing clearance with wire (A). Put
the caps (1) in position on the connecting rods
and install the nuts. Tighten the nuts to a torque
of 30 3 lb.ft. (4.1 0.4 mkg). Put a mark on
each nut and the end of each bolt. Tighten the
nuts 60 5 more.
6. Remove the cap. Measure the thickness of the
wire. The rod bearing clearance must be .0030
.0015 in. (0.076 0.038 mm). The maximum
permissible clearance is .007 in. (0.18 mm).
7. Put the caps in position on the connecting rods
and install the nuts. Tighten the nuts to a torque
of 30 3 lb.ft. (4.1 0.4 mkg). Put a mark on
each nut and the end of each bolt. Tighten the
nuts 60 5 more.
8. Do Steps 1 through 7 again for other bearings.
end by:
a) install oil pan
49

