
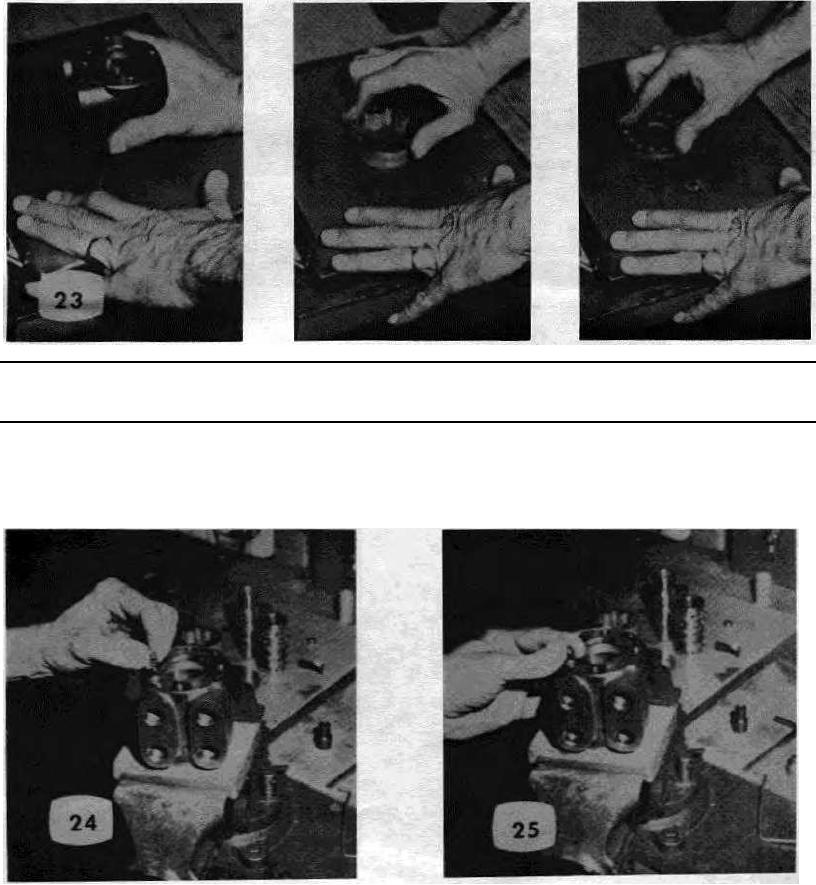
Stroke each surface across the abrasive several times
will become rounded) Check each part after 6 to 10 strokes
across the abrasive. After polishing each part, rinse clean
and observe the part. Figure No. 23. Any small bright
in solvent and blow dry. Keep these parts absolutely clean
area near an edge indicates a burr which must be
until they are assembled.
removed. Hold the part so that contact with the abrasive is
as flat as possible. (Do not push one edge down hard or
the flatness
REASSEMBLY
Place housing in vise with control end up. Protect 14-
Drop check ball into check hole and insure that it rests on
hole end as before, and clamp across port surface lightly.
top of the small end of the spring within the hole. Figure
Drop check valve spring into check hole with large end
No. 25. Place the check valve seat on hex wrench and
down. Figure No. 24.
screw into threads within
PAGE 10