
3. Drive out cam roller pin (Fig. 51). Remove roller.
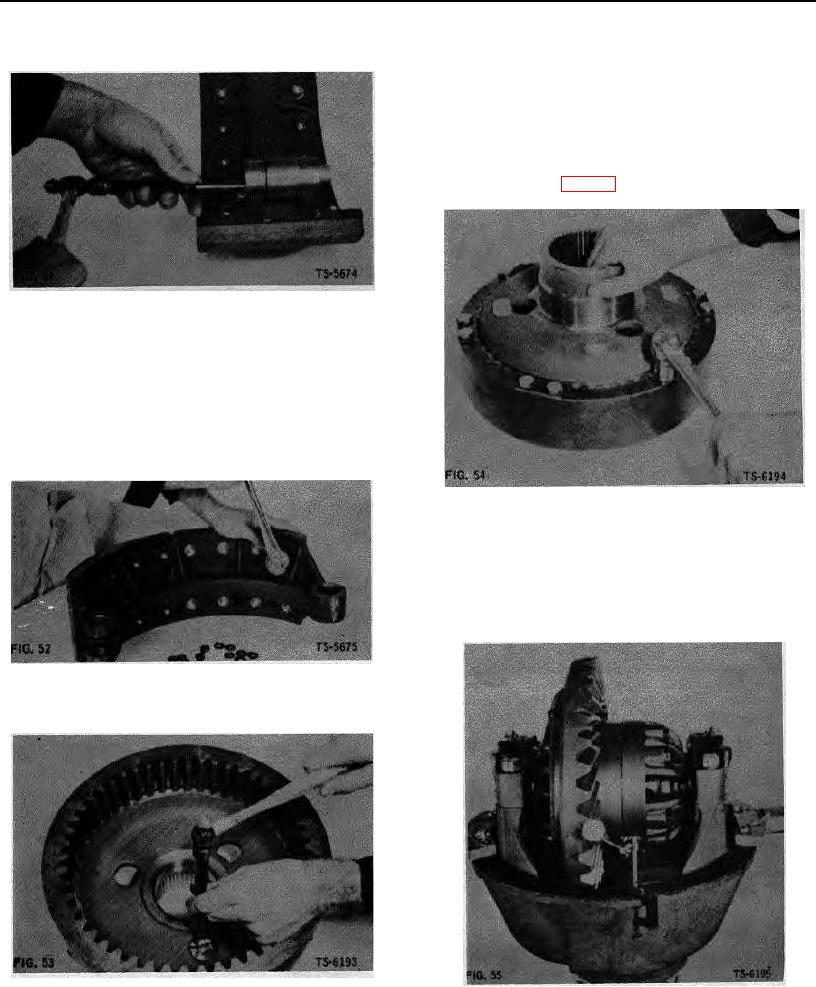
2. If replacement of internal gear is necessary, cut
lock- wires and remove bolts securing internal gear
to hub (Fig. 54). Separate internal gear from hub.
NOTE: On some axle models, internal gears are
se- cured to hubs with bolts inserted through drilled
holes in internal gear and screwed into hub instead
of as shown in Fig. 54.
4. Check brake lining for oil or grease saturation,
wear, and looseness. If loose, tighten retaining
bolts to 200 to 220 inch-pounds torque. If saturated
with grease, replace all lining blocks. To remove
linings, remove nuts, lockwashers, and bolts
retaining lining to shoes (Fig. 52).
NOTE: When replacing brake linings, all linings on
both sides of axle assembly should be replaced at
the same time.
Disassembly of Differential and Carrier
1. Mount differential on differential overhaul stand.
Check and record ring gear backlash with dial
indicator.
This information is necessary for
reassembly unless a new gear set is installed (Fig.
55).
Disassembly of Internal Gear and Hub
1.
Drive bearing cone from hub (Fig. 53).
24