TM 5-3820-233-12/1
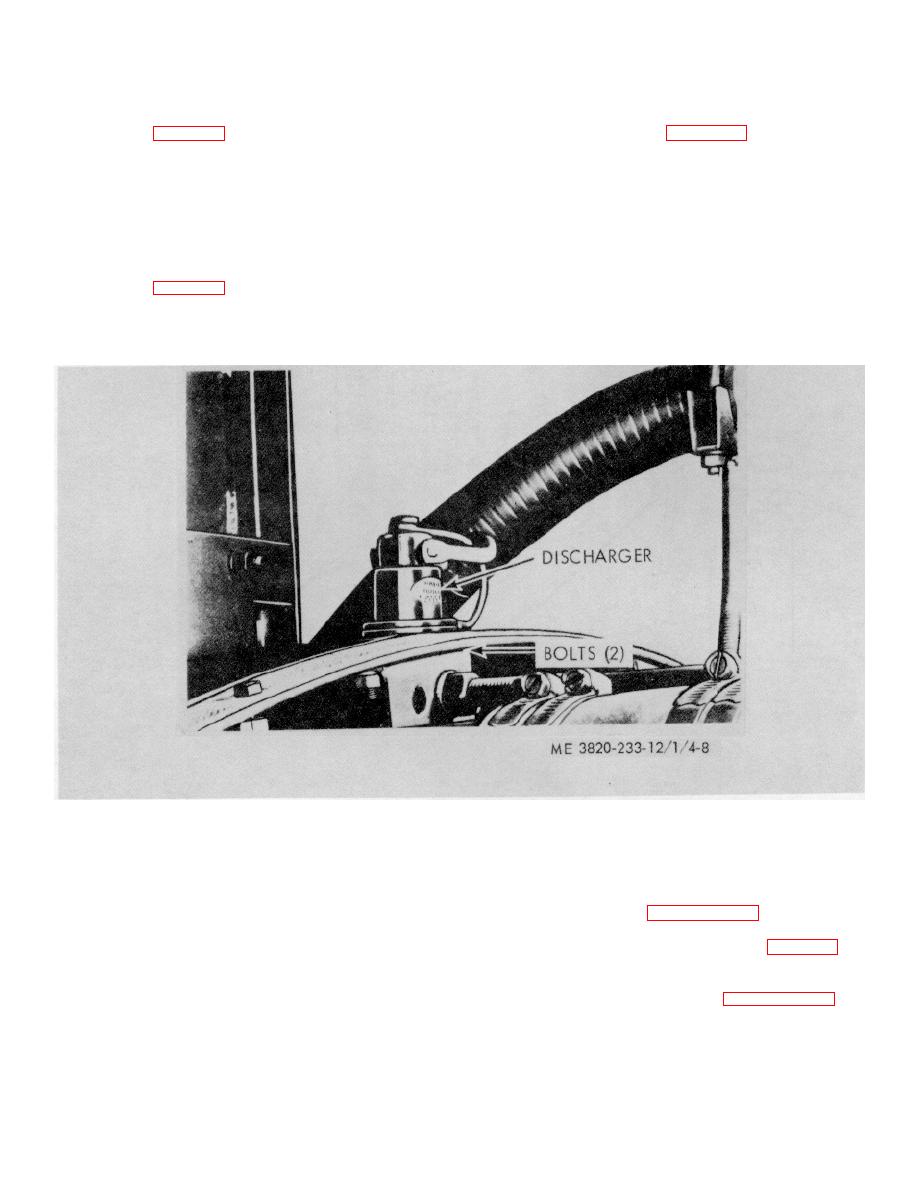
inject a highly volatile fluid into the air intake system to
4-16. Fuel Tank, Line and Fittings
assist ignition of fuel at low ambient temperature.
a. Removal. Remove the fuel tank, lines and fittings
b. Removal. Refer to figure 4-8 and remove the
as illustrated in figure 4-7.
starting aid as follows:
b. Inspection.
(1) Remove tube to cock.
(1) Inspect the fuel tank for damage and leaks.
(2) Remove bolt (2)
(2) Inspect the filler tube and cap for damage
(3) Remove bracket and discharge assembly.
(3) Inspect gage for damage and proper
CAUTION
operation.
(4) Inspect fuel lines and fittings for damage and
Keep discharger bulbs away from
leaks. Replace defective parts or a defective tank.
heat. Insert pressure bulbs in
c. Installation. Install the fuel tank, lines and fittings
discharger at time of starting only.
as illustrated in figure 4-7.
c. Installation. Installation is the reverse procedure of
4-17. Starting Aid
removal.
a. General. The starting aid is mounted to the top aft
hood support assembly. The discharger is designed to
Figure 4-8. Starting aid, removal and installation.
4-18. Air Cleaner
CAUTION
a. General. The air cleaner is located on the right
Never service air cleaner with engine
rear upper corner of the engine. Regular service intervals
running.
along with visual inspection of the indicator and dry type
b. Service. Refer to paragraph 3-12 and service the
filter element are necessary to maintain cleaning of
air cleaner.
engine inlet air. The service interval will vary with
c. Removal and Disassembly. Refer to figure 4-9 and
weather and working conditions. Severe dust conditions,
disassemble and remove the air cleaner.
dry weather and damp weather will vary service intervals,
d. Cleaning and Inspection. Clean and inspect air
in order from short to longer intervals.
cleaner components as described in paragraph 3-12.
e. Repair. Replace all parts found defective.
f. Assembly and Installation. Follow reverse order of
removal and disassembly.
4-11


