
TM 5-3820-233-35/2
cessive gear lash, scoring, pitting or bearing wear. A
b. Removal
rattling noise is an indication of excessive gear lash,
(1) Remove the power unit (para 23).
whereas a whining noise is a result of too little gear lash.
(2) Refer to the Operator's Manual and
The correct backlash for the gear train is 0.003 to 0.008
remove the muffler and air cleaner.
inch.
(3) Refer to the Operator's Manual and
remove the hoods, side panels, and tie rods.
under "Gear train removal".
(4) Remove the flywheel and flywheel
housing ( para 48).
Note.
(5) Remove the blower drive gear (para .37).
Refer to figure 30-3 and install gears
(6) Remove the crankshaft gear (para 53).
in the gear train with the timing
(7) Remove the camshaft and balancer shaft
marks (O-O and R-R) as indicated.
gears, and idler gear assembly (para 51).
53. Crankshaft and Main Bearings
c. Cleaning, Inspection, and Repair
a. General. The crankshaft assembly is located at
(1) Clean all parts with an approved cleaning
the bottom of the cylinder block, and is supported by
solvent and dry thoroughly.
five main bearings. The main bearings are of the
(2) Inspect idler gear for chipped teeth and
replaceable type and are used at each journal. A main
wear. Replace a defective gear.
bearing consists, of two shells. The upper shell is
(3) Inspect idler gear bearing for scoring,
located in crankcase main bearing support and the lower
pitting, wear, and overheating. Replace a defective
shell is seated in the main bearing cap.
bearing.
b. Removal
(4) Gear train noise usually indicates ex
(1) Drain the engine oil (Operator's Manual).
(2) Remove the power unit (para 23).
(3) Remove
Lie
air
cleaner
(Operator's Manual).
(4) Remove the hoods, side panels, and tie
rods (Operator's Manual).
(5) Drain the cooling system.
(6) Remove the radiator (para 33).
(7) Remove the flywheel and flywheel
housing (para 48).
(8) Remove the cylinder head (para 43).
(9) Remove the oil pan (para 44).
(10) Remove the lubricating oil pump and
pressure regulator (para 45).
(11) Remove the pistons and connecting rods
(12) Remove the crankshaft pulley and front
cover (para 49).
(13) Refer to figure 31-1 and remove the
crankshaft and main bearing.
c. Disassembly. Disassemble the crankshaft and
main bearings in the numerical sequence as illustrated
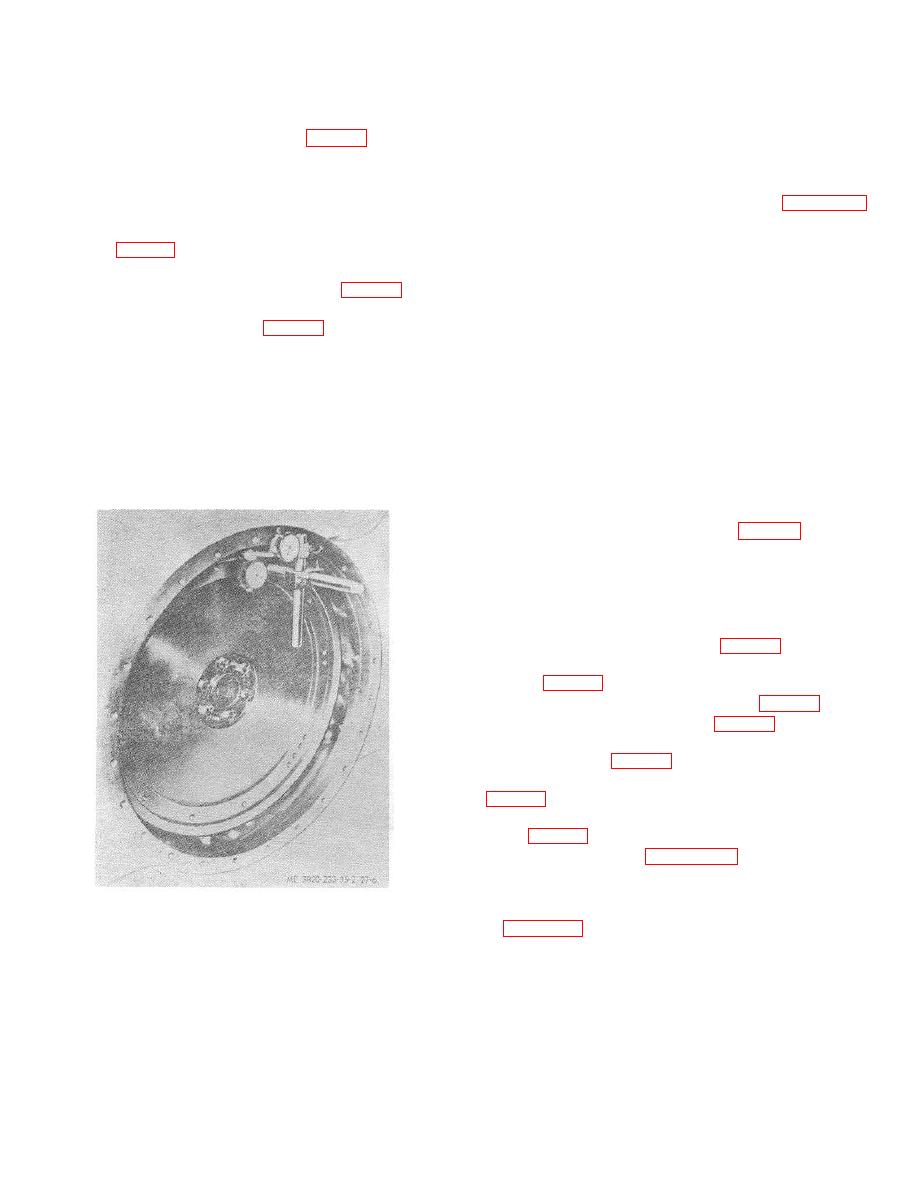
Figure 27-6. Checking flywheel housing
on figure 31-2.
concentricity.
d. Cleaning, Inspection, and Repair
(1) Clean all parts with an approved clearing
solvent and dry thoroughly.
3-44
